'简单匿名服务器搭建'

前提

使用eth或btc匿名购买服务器
务必使用公钥登录(抹去最后的账户信息)
1、跳板机python2/3,tumx,nps,vim,nginx等必要工具,不架设多余的服务
2、攻击机不架设服务,存放各类工具(npc(nps客户端),cobalt strike 3.14,msf,nmap,dirsearch,frp等)

架构图及工具

(这里只架构了1层,在实际使用中有很多层,老千层饼了)
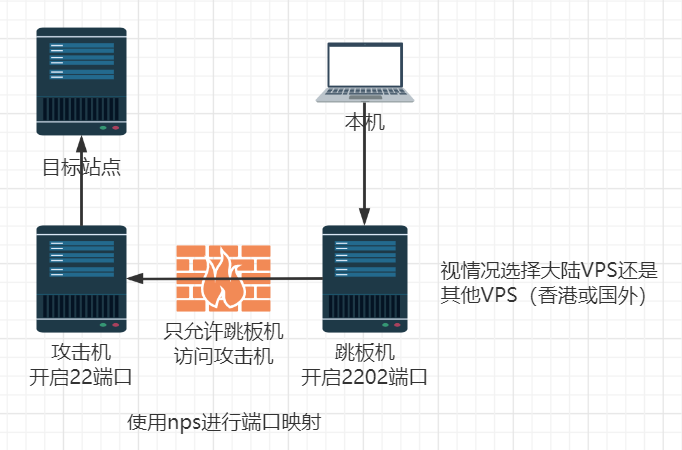
nps下载https://github.com/ehang-io/nps/releases

搭建

跳板机:服务端,攻击机:客户端(实际中攻击机不止1台)

解压之后有conf、web、nps,配置conf文件(如下图)

配置文件修改,以下为空,public_vkey通信密钥自己设置复杂点

1
2
3
4
5
6
7
8
9
10
11
12
13
14
15
16
17
18
19
20
21
22
23
24
25
26
27
#HTTP(S) proxy port, no startup if empty
http_proxy_ip=
http_proxy_port=
https_proxy_port=
https_just_proxy=

##bridge
# 底层通信协议,默认tcp,可选用kcp
bridge_type=tcp
# 底层通信端口,默认8024,如已被占用请指定其他端口
bridge_port=8024
bridge_ip=0.0.0.0

# Public password, which clients can use to connect to the server
# After the connection, the server will be able to open relevant ports and parse related domain names according to its own configuration file.
public_vkey=123y2348hfa#

#web
web_host=服务器IP
web_username=admin
web_password=密码
web_port = 8080网页控制面板端口
web_ip=0.0.0.0
web_base_url=
web_open_ssl=false
web_cert_file=conf/server.pem
web_key_file=conf/server.key

然后执行./nps install和./nps start
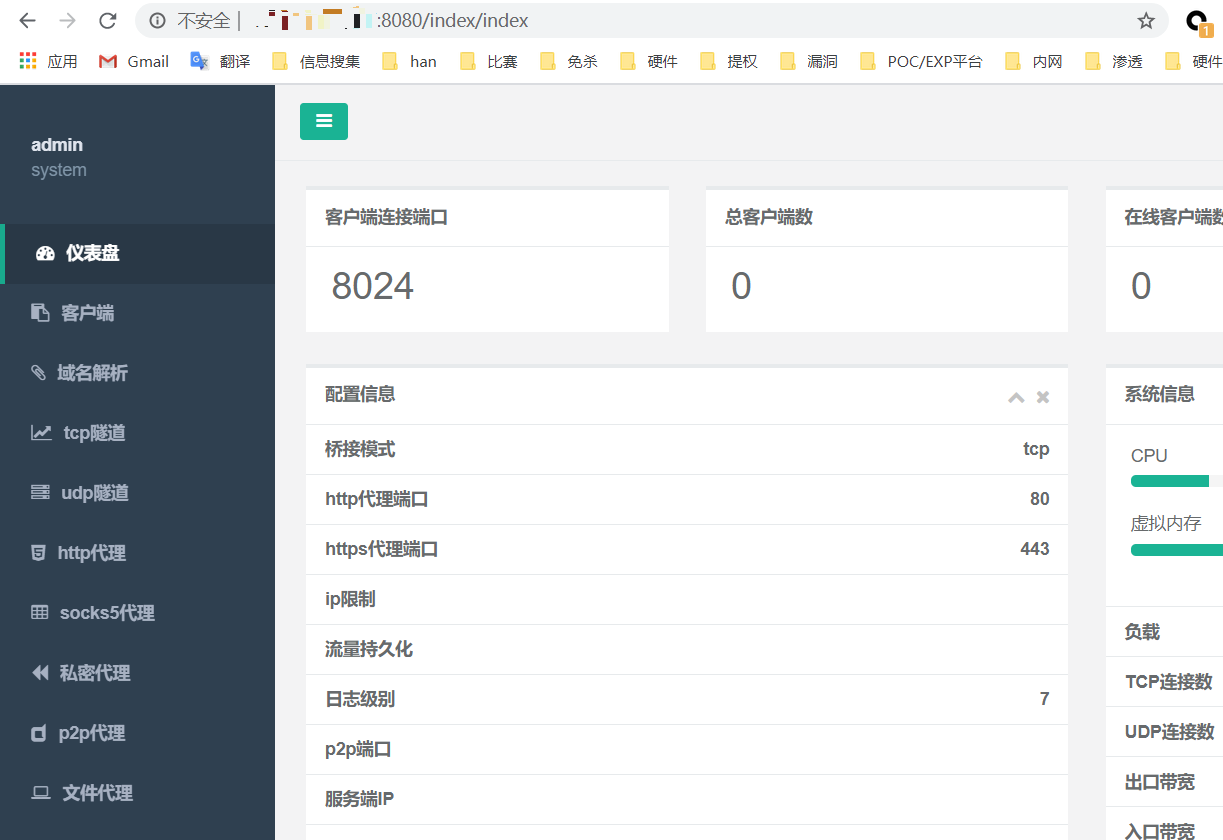
打开VPS-IP:8080即可访问控制面板,如果不行则检查防火墙和配置文件

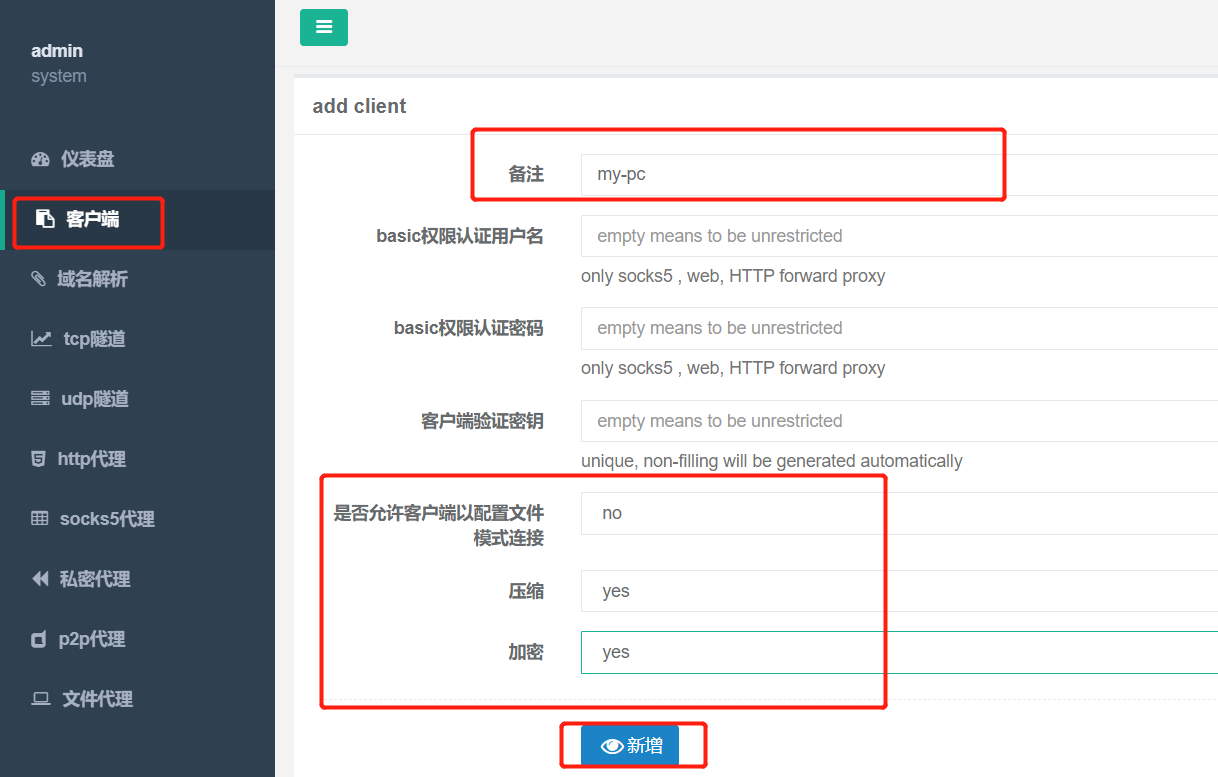
点击客户端,输入备注,设置完后,点击新增
点击+号可以看到命令
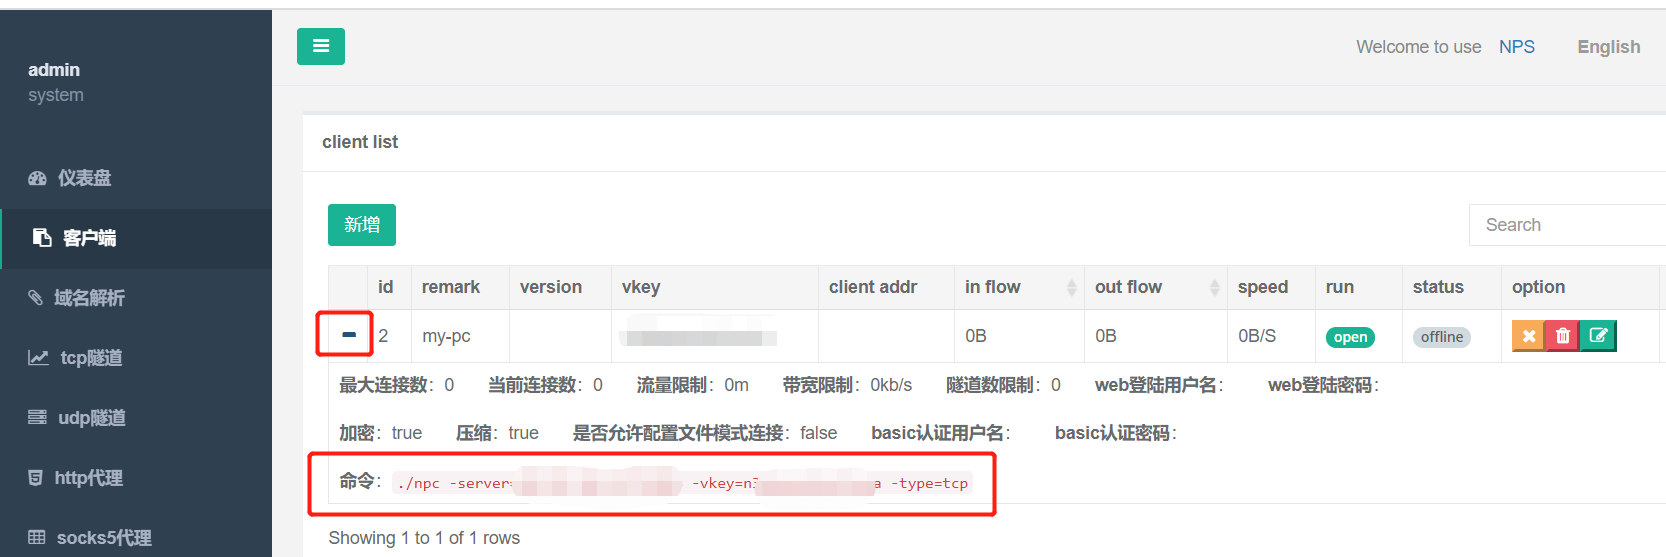

这个时候可以看到online变为绿色了,就可以设置代理(穿透)规则了

将攻击机的22端口映射到跳板机的2202端口
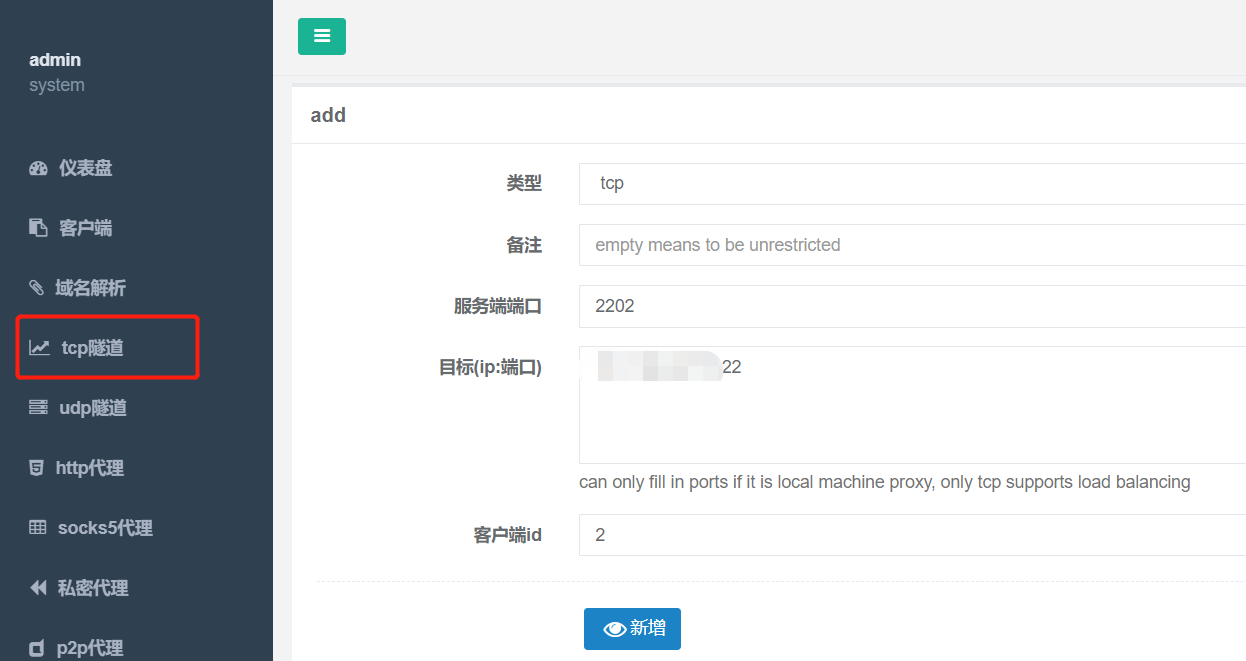
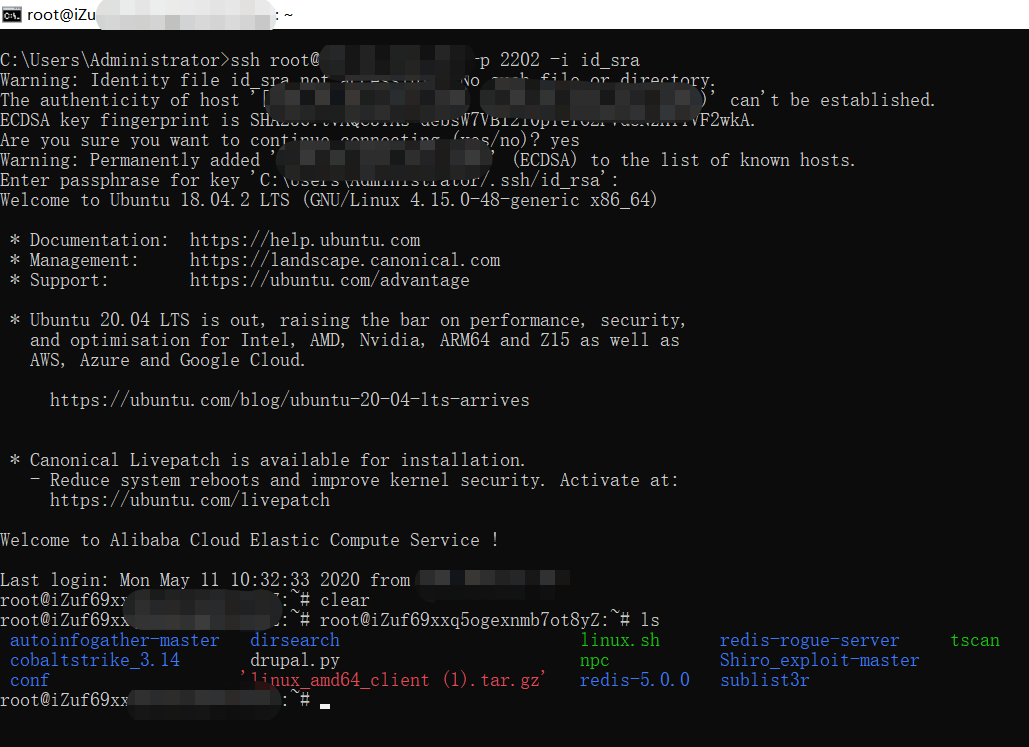
ssh root@跳板机IP -p 2202 -i id_rsa